Modern Face Recognition Overview
Face recognition is a series of several related problems:
- Face detection: Look at a picture and find all the faces in it
- Focus on each face and be able to understand that even if a face is turned in a weird direction or in bad lighting, it is still the same person.
- Be able to pick out unique features of the face that you can use to tell it apart from other people (like how big the eyes are, how long the face is, etc.)
- Compare the unique features of that face to all the people you already know to determine the person’s name.

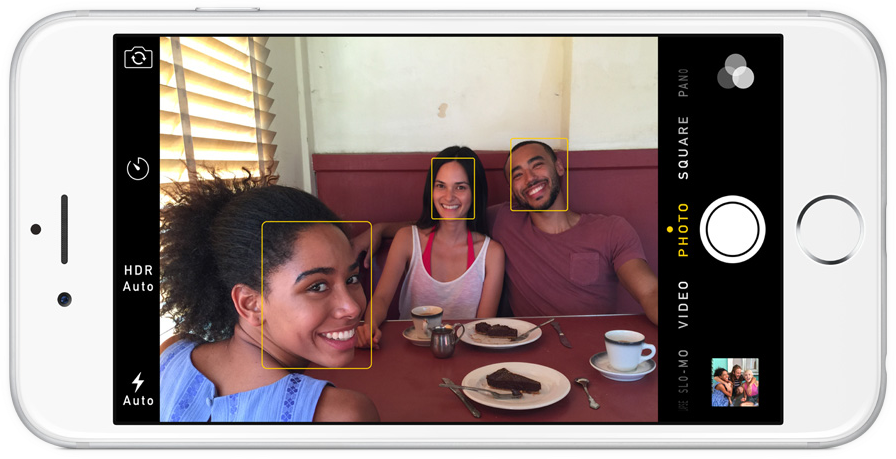
Step 1: Face detection
Face detection = locate the faces in a photograph
One of the methods for face detection is called Histogram of Oriented Gradients (HOG)1 invented in 2005.
To find faces in an image, we’ll start by making our image black and white because we don’t need color data to find faces:
Then we’ll look at every single pixel in our image one at a time. For every single pixel, we want to look at the pixels that directly surrounding it:
Our goal is to figure out how dark the current pixel is compared to the pixels directly surrounding it. Then we want to draw an arrow showing in which direction the image is getting darker:
If we repeat that process for every single pixel in the image, we will end up with every pixel being replaced by an arrow. These arrows are called gradients and they show the flow from light to dark across the entire image:
Q: Why should we replace the pixels with gradients?
A: If we analyze pixels directly, really dark images and really light images of the same person will have totally different pixel values. But by only considering the direction that brightness changes, both really dark images and really bright images will end up with the same exact representation. That makes the problem a lot easier to solve! 👏
But saving the gradient for every single pixel gives us way too much detail. It would be better if we could just see the basic flow of lightness/darkness at a higher level so we could see the basic pattern of the image. To do this,
- Break up the image into small squares of 16x16 pixels each
- In each square, count up how many gradients point in each major direction (how many point up, point up-right, point right, etc…).
- Replace that square in the image with the arrow directions that were the strongest.
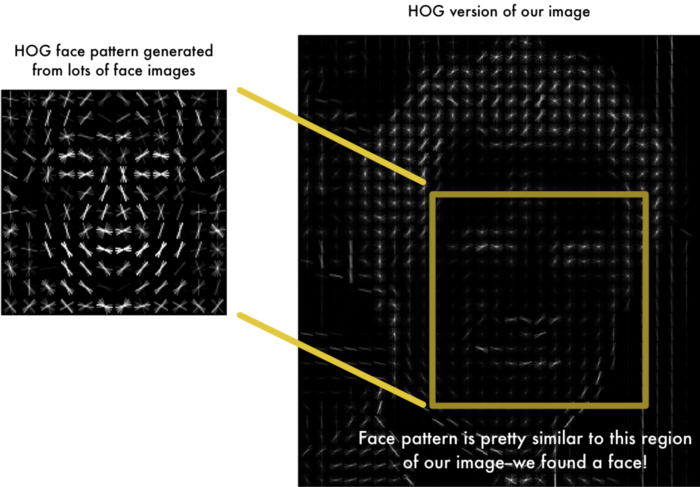
The end result is we turn the original image into a very simple representation that captures the basic structure of a face in a simple way:
To find faces in this HOG image, all we have to do is find the part of our image that looks the most similar to a known HOG pattern that was extracted from a bunch of other training faces:
Step 2: Posing and Projecting Faces
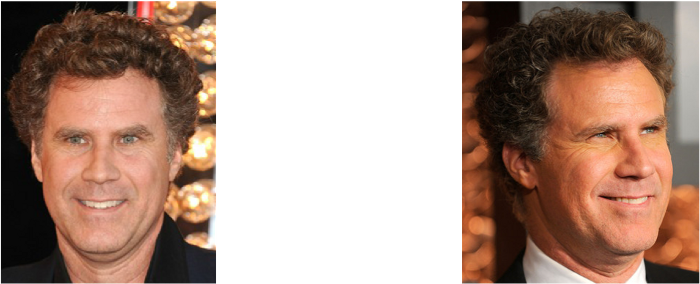
After isolating the faces in our image, we have to deal with the problem that faces turned different directions look totally different to a computer:
To account for this, we will try to warp each picture so that the eyes and lips are always in the sample place in the image. This will make it a lot easier for us to compare faces in the next steps.
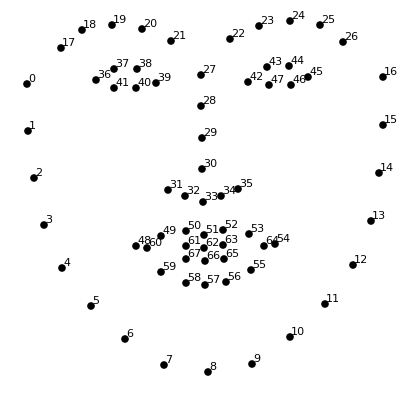
To do this, we are going to use an algorithm called face landmark estimation 2. The basic idea is we will come up with 68 specific points (called landmarks) that exist on every face — the top of the chin, the outside edge of each eye, the inner edge of each eyebrow, etc. Then we will train a machine learning algorithm to be able to find these 68 specific points on any face:
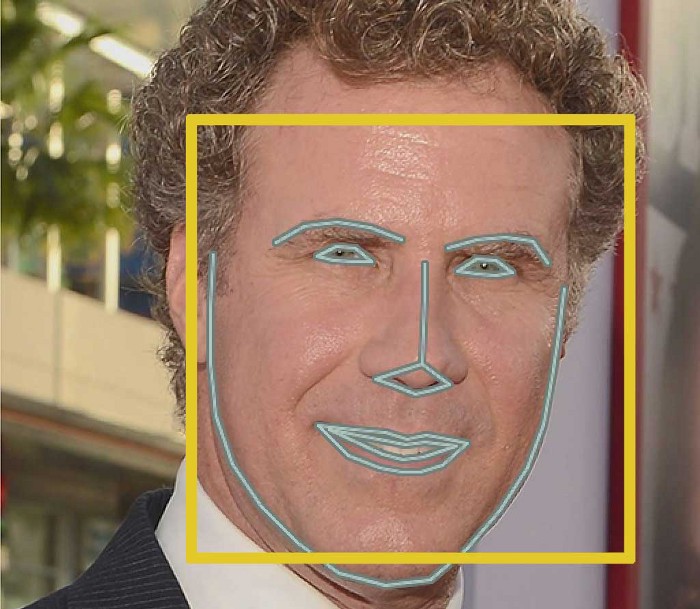
Result of locating the 68 face landmarks on our test image:
Now we know where eyes and mouth are, we’ll simple rotate, scale, and shear the images so that the eyes and mouth are centered as best as possible. We are only going to use basic image transformations like rotation and scale that preserve parallel lines (called affine transformations):
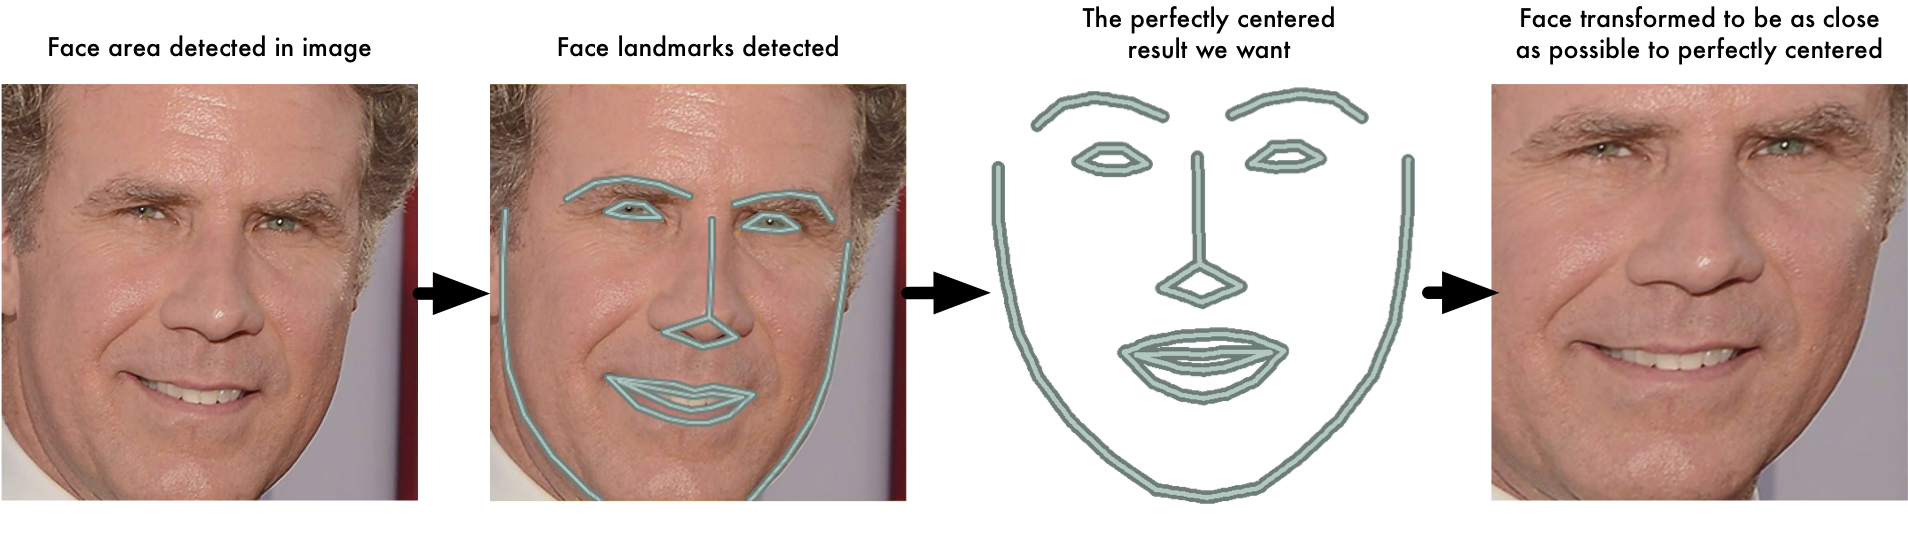
Now no matter how the face is turned, we are able to center the eyes and mouth are in roughly the same position in the image. This will make our next step a lot more accurate. 👏
Step 3: Encoding Faces
The simplest approach to face recognition is to directly compare the unknown face we found in Step 2 with all the pictures we have of people that have already been tagged. When we find a previously tagged face that looks very similar to our unknown face, it must be the same person.
What we need is a way to extract a few basic measurements from each face. Then we could measure our unknown face the same way and find the known face with the closest measurements.
How to measure a face?
The solution is to train a deep convolutional neural network which can generate 128 measurements (a.k.a. Embedding) for each face 3.
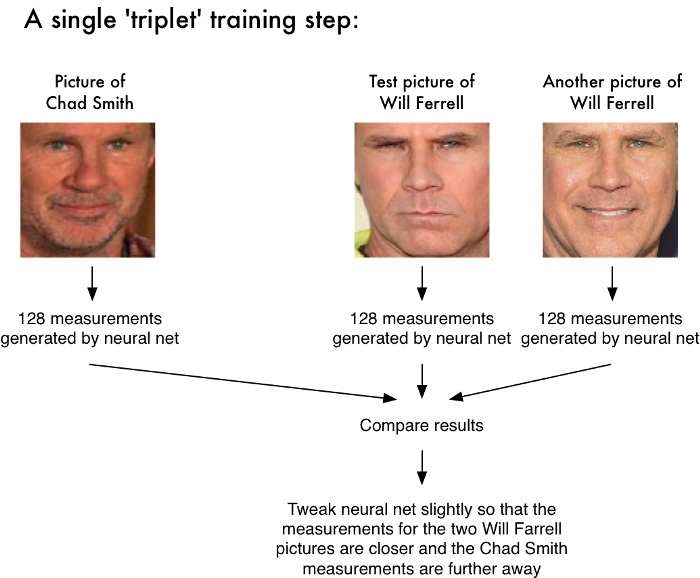
The training process works by looking at 3 face images at a time:
- Load a training face image of a known person
- Load another picture of the same known person
- Load a picture of a totally different person
Then the algorithm looks at the measurements it is currently generating for each of those three images. It then tweaks the neural network slightly so that it makes sure the measurements it generates for #1 and #2 are slightly closer while making sure the measurements for #2 and #3 are slightly further apart.
After repeating this step millions of times for millions of images of thousands of different people, the neural network learns to reliably generate 128 measurements for each person. Any ten different pictures of the same person should give roughly the same measurements.
Encoding face image
Once the network has been trained, it can generate measurements for any face, even ones it has never seen before. All we need to do ourselves is run our face images through their pre-trained network to get the 128 measurements for each face. Here’s the measurements for our test image:

We don’t need to care what parts of the face are these 128 numbers measuring exactly. All that we care is that the network generates nearly the same numbers when looking at two different pictures of the same person.
Step 4: Finding the person’s name from the encoding
This last step is actually the easiest step in the whole process. All we have to do is find the person in our database of known people who has the closest measurements to our test image.
We can do that by using any basic machine learning classification algorithm (e.g. SVM). All we need to do is train a classifier that can take in the measurements from a new test image and tells which known person is the closest match.
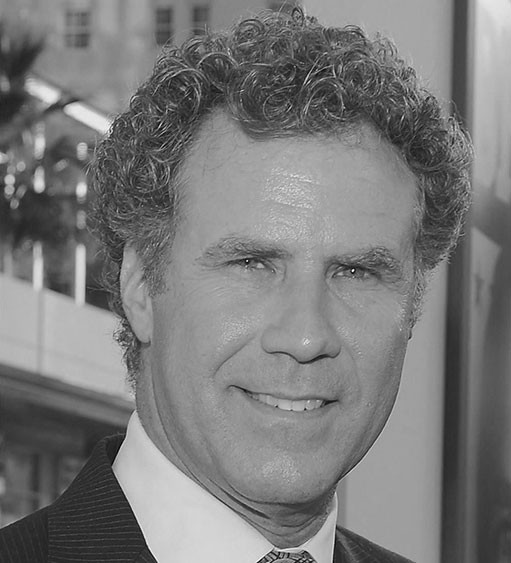
Example
Train a classifier with the embeddings of about 20 pictures each of Will Ferrell, Chad Smith and Jimmy Falon:
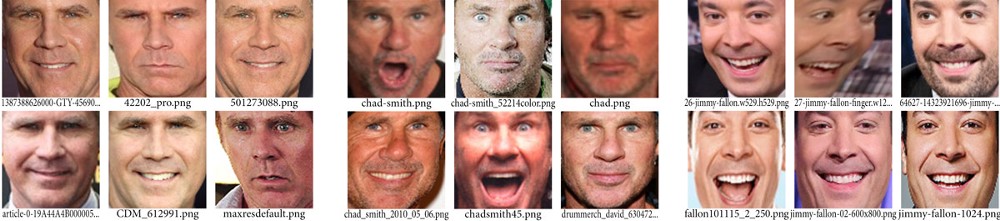
Then run the classifier on every frame of the famous youtube video of Will Ferrell and Chad Smith pretending to be each other on the Jimmy Fallon show:
Open Source Face Recognition library
- face_recognition: Recognize and manipulate faces from Python or from the command line with the world’s simplest face recognition library.
- facenet-pytorch: Face Recognition Using Pytorch